Retrograde femoral nailing

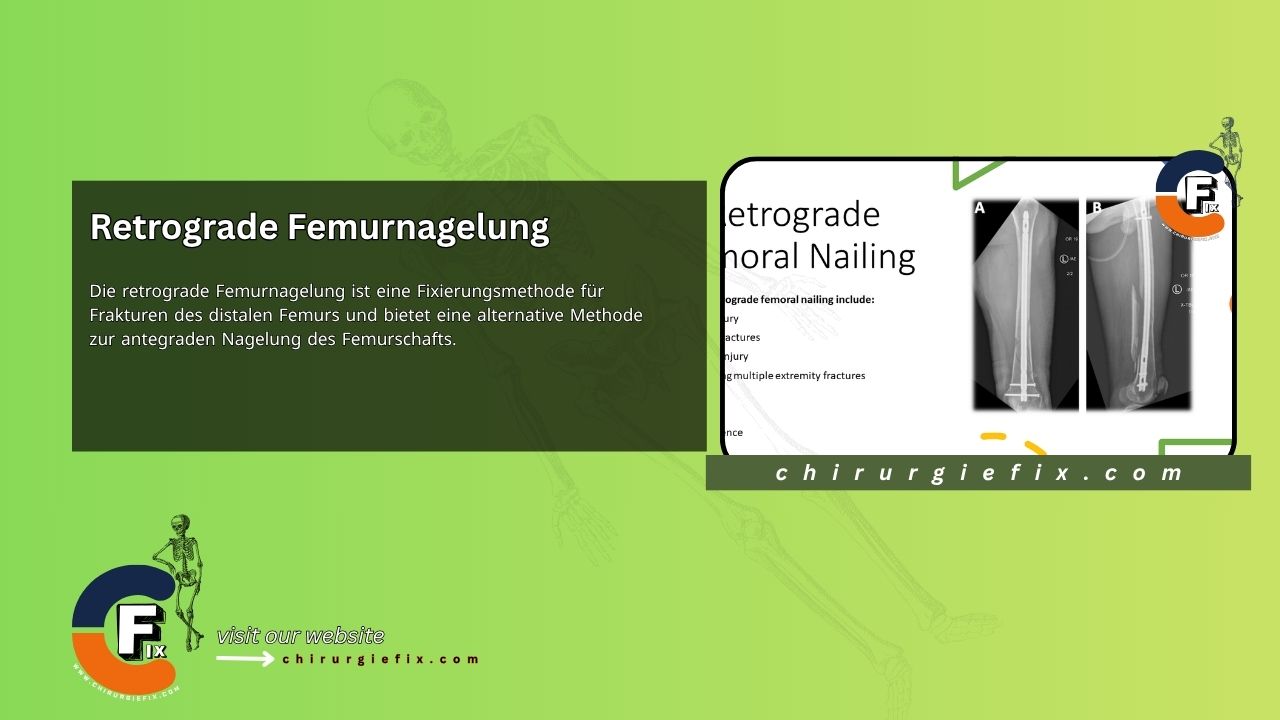
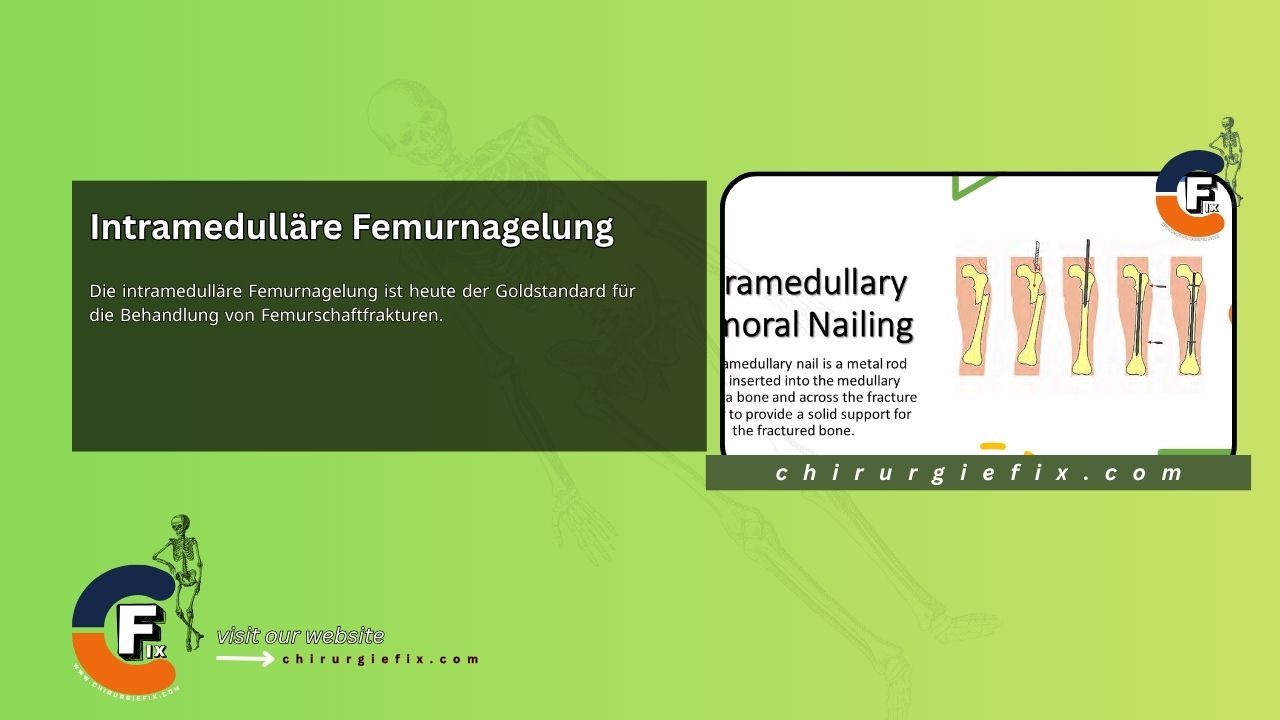
Retrograde femoral nailing is a fixation method for fractures of the distal femur and offers an alternative approach to antegrade nailing of the femoral shaft. Advantages of retrograde nailing include avoiding the use of a fracture table and traction, easier patient positioning and nail insertion, and shorter operative times with less blood loss. The entry site is more easily accessed due to less soft tissue dissection, especially in larger patients. Furthermore, there is no muscle dissection and lower radiation exposure, particularly to the pelvic organs.

Indications for Retrograde Femoral Nails

Indications for performing retrograde nailing to treat femoral shaft fractures include:

  1. Multisystem injury
  2. Femoral shaft fractures
  3. Soft tissue injury of the hip
  4. Trauma with multiple extremity fractures
  5. Morbid obesity
  6. Pregnancy
  7. Surgeon preference


Steps for Retrograde Femoral Nailing

  • Place the patient on a radiolucent, flat operating table. A small bump can be positioned under the ipsilateral hip to prevent external rotation of the proximal femur. Surgical preparation and draping must include the hip girdle and lower flank.
  • Position the leg over a sterile bump or triangle. Tibial traction may be used and attached to the traction bow holder.
  • Make an incision through the lateral parapatellar, medial parapatellar, or transpatellar tendon, depending on surgeon preference. The retropatellar fat pad must be incised and an arthrotomy performed. Insert a 3.2 mm guide pin into the intercondylar notch. Position the pin centrally in the intramedullary canal on anteroposterior imaging. Confirm its position and trajectory on lateral imaging; pin placement should be in line with the intramedullary canal at the anterior extent of Blumensaat’s line.
  • Advance the guide pin into the distal femoral metaphysis. Place the soft tissue protection sleeve over the guide pin to protect the articular surfaces and patellar tendon.
  • Similar to the antegrade technique, a “honeycomb” insert with multiple pins can help perfect guide pin placement. If used, remove the honeycomb insert and place the cannulated entry reamer over the first guide pin.
  • Advance into the femur until the reamer is in the distal femur. Take special care to ensure the soft tissue protection sleeve remains in place to avoid iatrogenic intra-articular injury. (Do not use the channel reamer and entry reamer attachment for this procedure.)
  • Pay particular attention to the correct pin trajectory in the distal segment, especially in fractures of the distal femoral metaphysis. Otherwise, coronal and sagittal plane malalignments can occur as a result of nail-canal mismatch. Blocking screws may be indicated to maintain alignment.
  • Remove the reamer and guide pin, and insert a 3 mm ball-tipped guide pin into the distal fragment.
  • Reduce the fracture and advance the guide pin into the proximal segment up to the level of the lesser trochanter. A cannulated reduction instrument or external devices such as a large distractor can be used for reduction maneuvers combined with axial traction. Small bumps or pads can be placed along the posterior surface of the thigh, as determined by fluoroscopy, to aid sagittal plane reduction.
  • Prepare the intramedullary canal by introducing cannulated reamers over the guide pin, with diameters 1.0 to 1.5 mm larger than the nail to be used.
  • Recheck the guide pin position to confirm its location at the lesser trochanter.
  • Apply traction to the leg to ensure proper length. Measure the appropriate nail length with a ruler placed over the guide pin. Ensure the ruler is countersunk. This is most easily performed on the lateral image plane.
  • Remove the entry portal tool and insert the nail attached to the aiming guide until it sits at the level of the lesser trochanter.
  • Maintain tension on the leg to prevent shortening. Check the lateral image to ensure the nail is correctly inserted.
  • Once the nail has reached the correct height, remove the guide pin.
  • Proceed with distal locking of the nail using the guide. Insert the drill sleeve and trocar through the aiming guide and advance to the skin. Make a stab incision at the site and enlarge the hole by blunt dissection down to the bone. Reinsert the drill guide down to the bone. Advance the drill until the far cortex is reached, and read the measurement on the drill calibrations to obtain an approximate length. Complete the penetration of the cortex.
  • Insert the screw by hand until fully seated.
  • Check screw length and position using anteroposterior and lateral imaging.
  • Repeat this process until the desired number of locking screws are positioned.
  • Recheck femoral alignment and length using a Bovie cord from the anterior superior iliac spine, the center of the femoral head, the center of the knee, and the center of the tibial plafond. Check the lateral reduction.
  • If the final reduction and length are acceptable, proceed to the proximal locking hole, which should be placed in the anteroposterior plane at the level of the lesser trochanter to avoid neurovascular injury. Identify the hole using the perfect circle technique.
  • Use the image intensifier to locate the proximal interlocking holes, as this facilitates incision placement. Make a longitudinal skin incision, sharply dissect the subcutaneous tissue and deep fascia, and bluntly dissect down to the bone. Avoid damage to the branches of the femoral nerve.
  • Drill into the femur once the position is acceptable using the perfect circle technique.
  • Use the same technique as previously described to determine screw length.
  • Insert the locking screw using the provided screwdriver.
  • Recheck alignment and reduction with multiple anteroposterior and lateral views.
  • Image the hip in full fluoroscopy mode with internal and external rotation and push-pull to check for an occult femoral neck fracture.
  • Close the wounds in layers as usual and apply a dressing.

Postoperative Care

  • Postoperative retrograde femoral nail rehabilitation depends on the stability of the fixation and the fracture pattern and must be individualized for each patient.
  • All patients initially receive a knee immobilizer.
  • Patients with stable fixation may begin a continuous passive motion program within the first 24 to 48 hours after surgery.
  • Fractures with less secure fixation may require a hinged knee brace.
  • Initial weight-bearing depends on fracture stability after fixation.
  • Patients with intercondylar or supracondylar fractures require protected weight-bearing until radiographic progression allows advancement of weight-bearing (typically between 10 and 12 weeks).

References and Further Reading

  1. Neubauer T, Ritter E, Potschka T, Karlbauer A, Wagner M. Retrograde nailing of femoral fractures. Acta Chir Orthop Traumatol Cech. 2008 Jun;75(3):158-66. PMID: 18601812.
  2. Campbell’s Operative Orthopaedics, 12th edition.
  3. Sanders R, Koval KJ, DiPasquale T, Helfet DL, Frankle M. Retrograde reamed femoral nailing. J Orthop Trauma. 2014 Aug;28 Suppl 8:S15-24. doi: 10.1097/01.bot.0000452786.80923.a7. PMID: 25046411.

Still to read...