Fresh osteochondral allograft transplantation is a technique used successfully as a primary treatment for a wide range of joint injuries and diseases, as well as for salvaging failed cartilage repairs. For the surgeon, using a fresh osteochondral allograft offers the opportunity to achieve durable biological joint restoration. For the patient, this procedure provides predictable symptom relief and lasting functional improvement, with the potential to delay or entirely avoid the need for joint replacement.
Generally, knee conditions that may indicate treatment with a fresh osteochondral allograft include large chondral and osteochondral lesions resulting from the following:
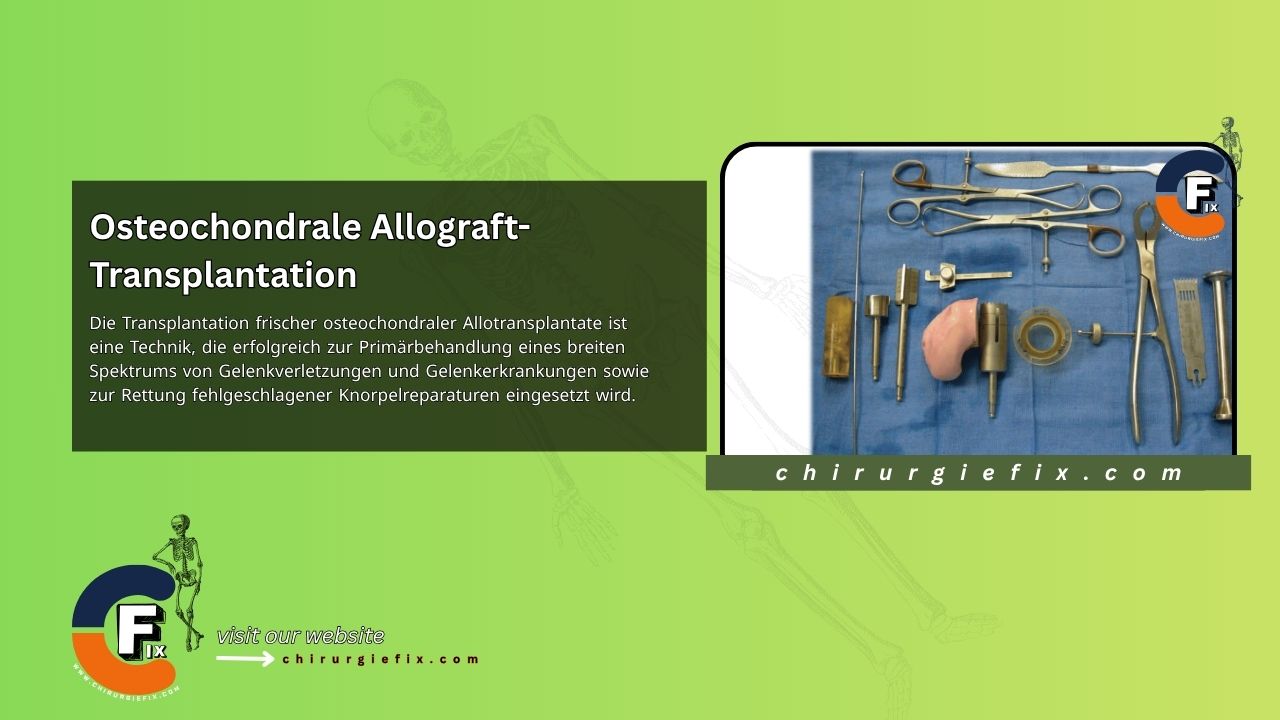
The required equipment depends on the surface being transplanted and the surgical technique used. For most limited femoral condyle defects, commercially available systems (Arthrex) allow a press-fit technique that simplifies site preparation, donor harvest, and graft insertion. However, if the lesion's size or location prevents using a plug press-fit system, the surgeon should be prepared to perform the shell graft technique.
Since shell grafts require measured resection and shaping of bone and cartilage, calipers, depth gauges, high-speed burrs, reciprocating saws, bone files, and/or rasps should be available in addition to standard surgical equipment. Furthermore, fluoroscopy is essential for treating certain large knee defects (e.g., tibial plateau) and can also improve accuracy at other anatomical sites.
For both techniques, the allograft is opened and inspected before the surgical incision to ensure it is acceptable for implantation. Although most grafts can be press-fitted without fixation, several graft fixation options should be available, including bioabsorbable pins and/or low-profile interfragmentary screws with a diameter of 3 mm or less.
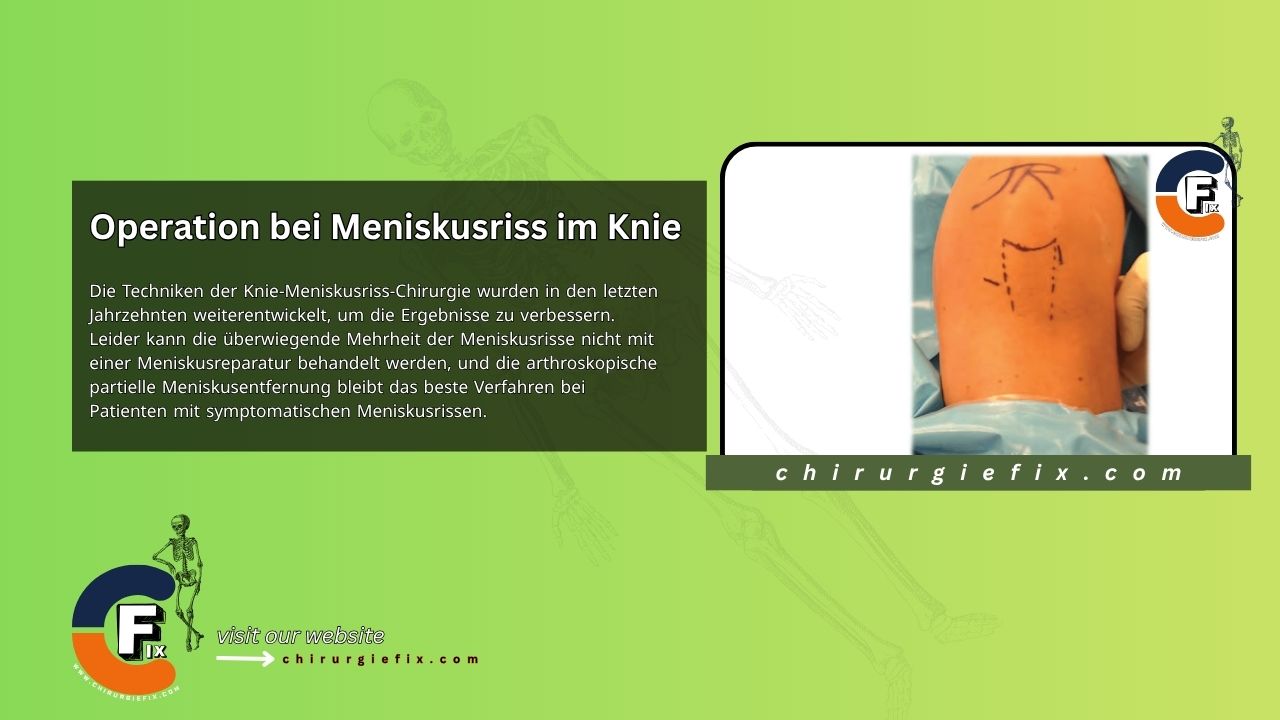
The patient is positioned supine with a proximal thigh tourniquet. A leg or foot holder helps position and maintain the knee in flexion between 70 and 110 degrees. Prophylactic antibiotics are administered at the start of anesthesia. The operative extremity is prepared and draped to allow an anterior approach to the knee.
Old incision sites are marked. If an osteotomy is planned, it may be beneficial to have access to the ipsilateral anterior superior iliac spine as a source of autograft bone and as a reference for assessing alignment. Before osteochondral allograft transplantation, a diagnostic arthroscopy can be performed to confirm lesion size and/or treat concurrent pathologies.
For cartilage defects in the knee, a realignment osteotomy is necessary in the presence of malalignment to reduce stress on the graft. Generally, an opening-wedge high tibial osteotomy is used to correct varus malalignment, and an opening-wedge lateral distal femoral osteotomy is used to correct a valgus deformity.
For the patellofemoral joint, optimizing patellofemoral biomechanics may lead to better outcomes, although this has not been proven in the context of osteochondral allografting. Therefore, for a patellofemoral lesion, an anteriorization or anteromedialization of the tibial tubercle may be performed to offload the compartment and/or correct malalignment.
Treating ligament and meniscal deficiencies is crucial for normalizing compartment contact stresses and shear forces. Ligament reconstruction and/or meniscal allograft transplantation can be performed concurrently with osteochondral grafting to optimize graft survival and improve the clinical outcome.
A standard midline incision is made. Depending on the lesion's location, a medial or lateral arthrotomy can be performed. Once the joint capsule is incised and retractors are placed, the knee is brought to the degree of flexion that presents the lesion at the arthrotomy site.
In some cases, when the lesion is located posteriorly, detaching and reflecting the meniscus can facilitate exposure. Angled retractors are placed medially and laterally to expose the condyle. A carefully placed retractor in the notch is helpful to assist with retracting the patella. Extending the deep incision proximally and distally aids in mobilizing the patella.
The joint lesion is inspected to define its margins. Surrounding damaged cartilage and bone are removed to allow accurate sizing of the lesion. The lesion is assessed to determine the allograft shape that best fits the defect. The two techniques for creating osteochondral allografts are the press-fit circular plug technique and the shell graft technique.
Whenever possible, the press-fit technique is preferred because a precise graft fit is relatively easy to achieve and the likelihood of additional internal fixation is low. If the lesion is not suitable for a press-fit osteochondral allograft, a shell graft can be used.
The size of the osteochondral allograft is estimated using commercially available cannulated, cylindrical sizing guides. Each guide is positioned to encompass the defect, thereby determining the optimal dowel diameter. The guide must be flush with the surrounding normal cartilage to properly restore the geometry of the joint surface. If the lesion falls between two sizes, start with the smaller size.
Once a size is determined, ensure that the available graft is suitable for harvesting a graft of that size, as anatomical differences may occur that could alter the surgical plan (e.g., the surgeon may choose to place two 20-mm grafts instead of one 30-mm graft if the allograft condyle is too narrow to harvest a 30-mm diameter graft). Preparation of the recipient site begins by placing a guidewire through the cylindrical sizing guide into the center of the lesion, perpendicular to the articular surface.
The cartilage surface is scored, and a cannulated countersink reamer is used to remove the articular cartilage and 3 to 4 mm of subchondral bone. For deeper lesions, the pathologic bone is removed until healthy, bleeding bone remains. When treating cartilage defects, the depth is generally no more than 6 to 8 mm. When treating osteochondral lesions, the depth can be up to 10 mm. The reamings are collected and can be used to graft bone defects (cysts) or to optimize the position of the graft. At this point, the guide pin can be removed.
If necessary, multiple perforations in the defect base can be made with a K-wire to encourage vascular inflow. A skin marker is used to mark the 12 o'clock position as a reference, and depth measurements are taken and recorded in the 4 quadrants of the recipient site. Using a ruler or depth gauge, the socket depth is measured and recorded at the 3, 6, 9, and 12 o'clock positions. The recipient socket is now complete and ready for the press-fit osteochondral allograft.
The corresponding anatomical location of the recipient site is noted on the donor allograft. The allograft is then secured on the allograft workstation platform or held with clamps and positioned so that the bushing with the corresponding diameter can be positioned perpendicular to the articular surface and aligned with the orientation used to create the recipient site. The cylindrical measuring tube is used to verify that the selected angle matches the contour of the defect, and the 12 o'clock position is marked with a surgical marker.
The appropriately sized core reamer is passed through the bushing and advanced over its full depth. After harvesting from the donor condyle, the graft is removed as a long cylindrical plug. An oscillating saw can be used to free the graft from the donor condyle.
The depths for the 4 quadrants of the recipient site are transferred to the graft, and the thickness of the allograft plug is adjusted using a micro-sagittal saw to cut off excess bone to the thickness matching the recipient site. Immediately before insertion, it is beneficial to bevel the edges of the bone portion with a small rongeur or rasp to facilitate the initial press-fit in the recipient socket.
The donor graft should be copiously irrigated with pulsatile lavage to remove blood and bone marrow cells, thereby reducing the risk of an immune response from the host. The donor graft is positioned by aligning the marks and pressed firmly by hand. If the graft does not fit, consider enlarging the recipient site with a slightly oversized plug or reinserting the guidewire and re-drilling to depth. Alternatively, the graft can be further trimmed or beveled.
The final resting position of the graft should be flush with the surrounding articular surface, although the authors accept deviations of less than 1 mm. If the graft is unstable or has an exposed edge, resorbable pins or biocompression screws are used. For large femoral defects, more than one press-fit osteochondral allograft plug may be required.
The "snowman technique" allows coverage of a larger condylar area using a second press-fit plug. With this technique, the first graft is secured with a small K-wire or definitively fixed with biocompression screws if needed to prevent slippage during preparation of the second overlapping site.
Care is taken to minimize the distance between multiple grafts, as this can lead to the formation of biomechanically inferior fibrocartilage and/or a lack of joint congruity (e.g., cobblestoning), which can alter biomechanics and negatively impact the clinical outcome.
For uncontained or asymmetric lesions, or for lesions in difficult-to-access locations on the femur, a freehand technique is required to match donor tissue to the recipient defect. A skin marker is used to outline the shape of the defect, and a 15-blade scalpel is used to incise the remaining cartilage, which is then removed with sharp curettes. A high-speed burr is then used to remove the underlying pathologic bone to expose healthy bleeding bone.
Creating a simple geometry for the recipient site (e.g., rectangle or trapezoid) simplifies the subsequent freehand sizing of the osteochondral allograft. After the recipient site is prepared, the donor graft is roughly shaped with a micro-sagittal saw. It is best to make the initial cuts slightly wider than measured to oversize the donor graft. A series of trial fittings and repeated measurements lead to shaping the donor tissue to achieve a precise fit.
Although smaller patellar lesions can be successfully treated with circular press-fit grafts, larger lesions are treated with a technique similar to that used in knee arthroplasty. Patellar thickness is measured with calipers, and the articular surface is resected, preserving at least 12 mm of remaining bone. The donor graft is then resected in a similar manner.
The allograft is then irrigated and placed in the appropriate position. The graft is then fixed with interfragmentary screw fixation from the anterior surface of the patella into the subchondral bone beneath the central ridge of the graft. An assessment of patellar tracking is then performed to determine if additional soft tissue or bone realignment procedures are needed.
Large post-traumatic tibial plateau lesions are treated with a technique similar to that used in unicompartmental knee arthroplasty. Under fluoroscopic guidance, an en bloc resection of the meniscotibial unit is performed with an "L-cut." Two freehand cuts are made to resect a minimal amount of subchondral bone. K-wires or arthroplasty instruments can be used to assist the surgeon with these cuts.
Measurements of the length and width of the resected surface and the joint space allow estimation of the required allograft dimensions. The donor graft is then secured in the graft holder, and the desired dimensions are marked. Ideally, tibial plateau grafts are 8 to 12 mm thick, which is typical for restoring plateau height after a fracture malunion. A saber saw is used for the vertical cut, and an oscillating saw is used for the horizontal cut, following the marks on the graft edges. Once the graft has achieved optimal size and shape, it is irrigated and carefully inserted into the anatomical position adjacent to the femoral condyle.
The knee is taken through a range of motion, and the graft is inspected visually and under fluoroscopy to assess graft position and restoration of the joint line and tibial slope. Revisions are made as needed to optimize graft fit and position, as well as overall joint alignment and mechanics. The graft is then fixed with two interfragmentary screws placed from the submeniscal joint margin at the mid-coronal and anterior positions. After bone fixation, the meniscus is repaired in a conventional manner.
0 to 4 Weeks In the first phase of rehabilitation, the patient's goals are to control pain and swelling, restore muscle control, improve knee range of motion, and protect the allograft. Patients are allowed unrestricted early, non-weight-bearing motion unless a concurrent procedure dictates otherwise. Weight-bearing status varies by lesion location, but the general goal is to avoid loading the transplanted area. Patients with tibial or femoral grafts are restricted to toe-touch weight-bearing for 6 weeks.
For patients with a patellofemoral osteochondral allograft, weight-bearing in extension is allowed, but active flexion is limited to 30 to 45 degrees. In addition to passive and active-assisted knee range of motion, exercises include stretching and isometric strengthening of the quadriceps, hamstring, and gluteal muscles. Although knee braces are not required, they can be useful for patients with patellofemoral grafts by limiting knee flexion to less than 45 degrees. For patients with bipolar knee lesions, an offloader brace may be useful when they achieve full weight-bearing.
4 to 12 Weeks In the second phase, the patient's goals are to regain full range of motion, a normalized gait, and the ability to perform functional activities of daily living. Stretching and isometric strengthening exercises are continued with progressive weight-bearing. Once the patient has adequate quadriceps control and can perform a straight leg raise without an extension lag, it is usually appropriate to initiate a stationary cycle. Gait training and closed-chain exercises are introduced. For focal lesions treated with a single-plug osteochondral allograft, full weight-bearing is generally allowed after 6 to 8 weeks. Patients with large or complex grafts are restricted to partial weight-bearing for 8 to 12 weeks.
12 to 18 Weeks The final phase of rehabilitation varies depending on the patient's goals and expectations. For the patient aiming to perform activities of daily living, a transition is made to a home maintenance exercise program. Recreational sports are not resumed until joint rehabilitation is complete and radiographic healing has been demonstrated, which usually occurs no earlier than 4 to 6 months after surgery.
For athletes, this phase focuses on advanced strengthening, core stabilization, proprioception, and a gradual return to sport-specific training. Athletes should have at least full knee range of motion, no effusion, joint stability, and excellent dynamic strength, and must have clinical and radiographic evidence of complete graft incorporation before returning to the highest activity level. Ideally, high-impact activities should be avoided until at least 6 to 12 months postoperatively.