Reduction of Elbow Dislocation
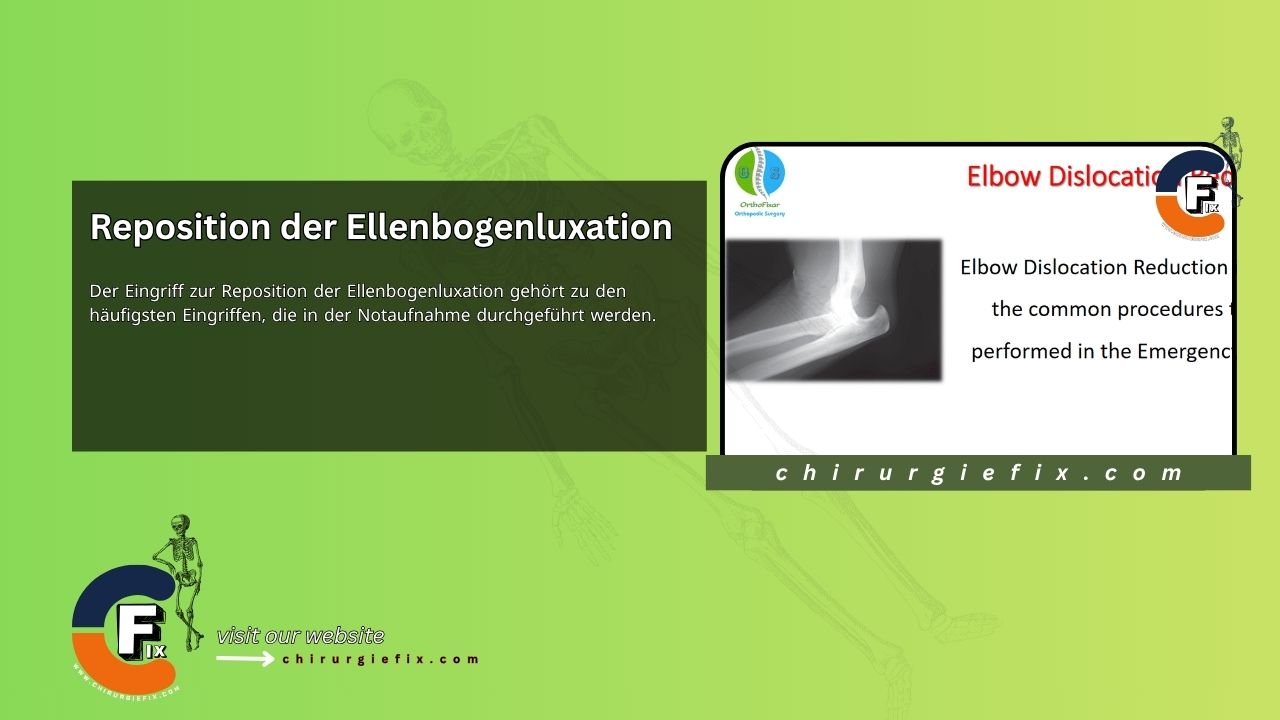
Elbow dislocation reduction is one of the most common procedures performed in emergency departments. Elbow dislocations account for 20% of all traumatic dislocations, with posterior or posterolateral displacement being the most frequent type. Posterior elbow dislocations are also the most common dislocation seen in children under ten years old.
These injuries typically occur after a twisting injury or a fall onto an outstretched arm, leading to a tear in the joint capsule.
Assessment of Elbow Dislocation
When taking the history of a patient with a suspected elbow dislocation, it is important to note:
- The mechanism of injury
- The type and location of pain
- Any sensory, motor, or vascular deficits
- The time of injury
- Whether the patient has a history of previous elbow injury
During the physical examination, look for gross deformity and assess the condition of the overlying soft tissues. The elbow should be checked for effusion, put through a range of motion, and tested for stability if possible. Always compare these findings with the uninjured side.
In a normal elbow, the medial and lateral epicondyles form an isosceles triangle with the olecranon. This anatomical triangle is lost in a simple elbow dislocation (one without an associated fracture), as the relationship between the olecranon and the epicondyles changes and the olecranon process becomes more prominent. An empty space may also be felt medially.
While neurovascular injuries are rare, a thorough examination is essential. The clinician must be alert for the development of compartment syndrome. Injury to the median nerve is uncommon but is characterized by severe pain that does not improve after reduction. The patient may have difficulty abducting the thumb and may lose sensation on the palmar side of the skin from the wrist to the tips of the lateral three and a half fingers, as well as the dorsal side of the distal two-thirds of these fingers.
Technique for Elbow Dislocation Reduction
Once all associated elbow fractures have been ruled out, reduction of the dislocation is necessary.
Steps for Elbow Reduction
- Ensure the patient has adequate pain control. This can be achieved with intra-articular anesthetic and/or analgesics. If these measures are ineffective, the patient may require sedation.
- Remove clothing and jewelry from the affected extremity.
- Place the patient in a supine position.
- Align the olecranon and distal humerus in the medial-lateral plane.
- Supinate the forearm.
- Apply upward traction through the elbow while flexing the elbow to 90°.
- Have an assistant apply counter-traction to stabilize the humeral shaft.
- Place your thumb on the patient’s olecranon process and lever it over the distal humerus with direct pressure. The force from your thumb should be directed upward and anteriorly while the arm is flexed to 90°. A palpable “clunk” should be felt.
- Check stability by moving the elbow through a full range of motion.
- Confirm successful reduction by checking for a smooth, unrestricted range of motion and realignment of the olecranon with the medial and lateral epicondyles in the isosceles triangle.
- Once a stable and successful reduction is confirmed, apply a padded posterior splint to immobilize the elbow at approximately 90° of flexion with the forearm in neutral rotation.
- Post-reduction X-rays must confirm concentric ulnohumeral and radiocapitellar alignment.
- The splint can be removed within 1 to 2 weeks. Ensure the splint extends far enough to support the wrist, and keep the elbow elevated above the heart to reduce swelling.
- The patient should be re-evaluated by an orthopedic surgeon 7 to 10 days after the injury to reassess elbow stability and to arrange for physiotherapy.
Applying a Long Arm Posterior Splint
A long arm posterior splint should be applied following a successful elbow dislocation reduction.
Materials needed:
- Plaster rolls with 8 to 10 sheets of 3 or 4-inch plaster (depending on patient size)
- 1-inch plaster roll
- Cotton undercast padding
- A basin of lukewarm water
- Elastic bandages (3 to 4 inches wide)
- Chux pads
- Trauma shears
- Bed sheet and stockinette
Steps for applying the long arm posterior splint:
- Ensure the patient is positioned comfortably.
- Remove clothing and jewelry from the affected extremity.
- Cover the patient with a sheet to protect them from plaster splashes.
- Flex the affected elbow to 90°, extend the wrist 10 to 20°, and hold the forearm in neutral position with the thumb pointing up.
- Wrap the arm with cotton padding, starting distally and moving proximally, overlapping each layer by half its width.
- The cotton padding should extend 2 to 3 cm beyond the plaster.
- Smooth out any wrinkles or folds, as these can create pressure points and damage underlying soft tissue. Be sure to provide extra padding over the bony prominences of the elbow and wrist, the epicondyles, the metacarpophalangeal joints, and the base of the thumb. Remove excess padding from the cubital fossa.
- Measure the plaster by placing one end of a dry plaster roll along the ulnar side of the affected arm, from the palmar crease to the proximal humerus. Add approximately 5 mm of extra plaster at each end to account for shrinkage when wet. Cut the desired length and fold the plaster over itself. Unroll the rest of the plaster and continue folding until you have 8 to 10 layers. Also, measure a supporting side slab.
- Dip the plaster in room-temperature water and squeeze out the excess water. Lay the plaster flat and smooth out any folds or wrinkles.
- Apply the wet plaster to the padding, starting on the ulnar side at the mid-metacarpal level and extending up to the proximal humerus.
- Have the patient hold the distal end of the wet plaster with their other hand. If this is not possible, an assistant must be used.
- Smooth out any excess plaster at the elbow and mold it to the outer splint.
- Reinforce the splint with the supporting side slab, which should extend from the mid-humerus to the mid-forearm.
- Apply the elastic bandage over the wet plaster, starting distally and moving proximally. Do not wrap it too tightly, and ensure there is an adequate opening for the thumb.
- Mold the splint into the desired shape while the plaster is still wet, and instruct the patient to keep their hand, forearm, wrist, and elbow still until the plaster dries.
- Inform the patient that they may feel some warmth as the splint dries. However, if the heat becomes too intense, remove the splint as thermal burns can occur.
- Check neurovascular function after the splint has dried.
References
- Carter Sadie J, Carl A Germann, Angelo A Dacus, et al. “Orthopedic pitfalls in the ED: neurovascular injuries associated with posterior elbow dislocations.” Am J Emerg Med. 2010;28(8):960-5. Epub 2010, Mar 12.
- De Haan J, Schep NW, Tuinebreijer WE, et al. Simple elbow dislocations: a systematic review of the literature. Arch Orthop Trauma Surg. 2010;130(2):241-9. Epub 2009, Apr 2.
- McGuire DT, Bain GI. Management of dislocations of the elbow in the athlete. Sports Med Arthrosc Rev. 2014 Sep;22(3):188-93. doi: 10.1097/JSA.0000000000000016. PMID: 25077749.