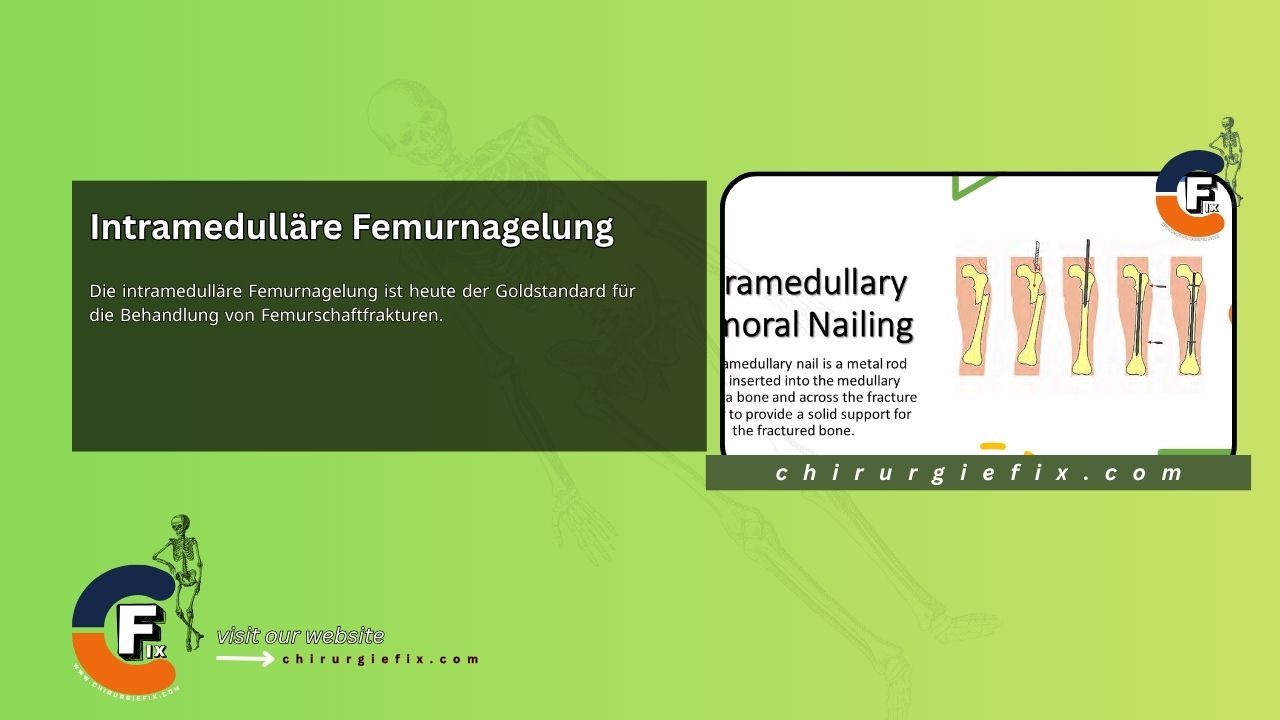
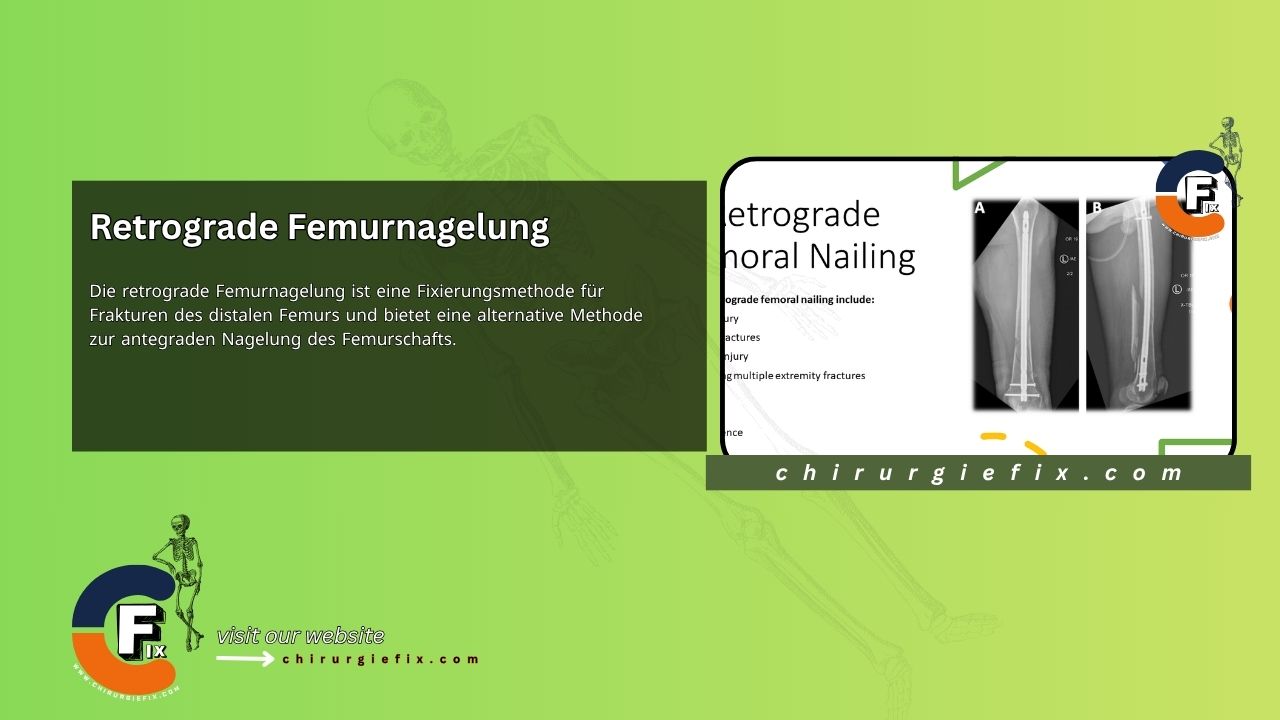
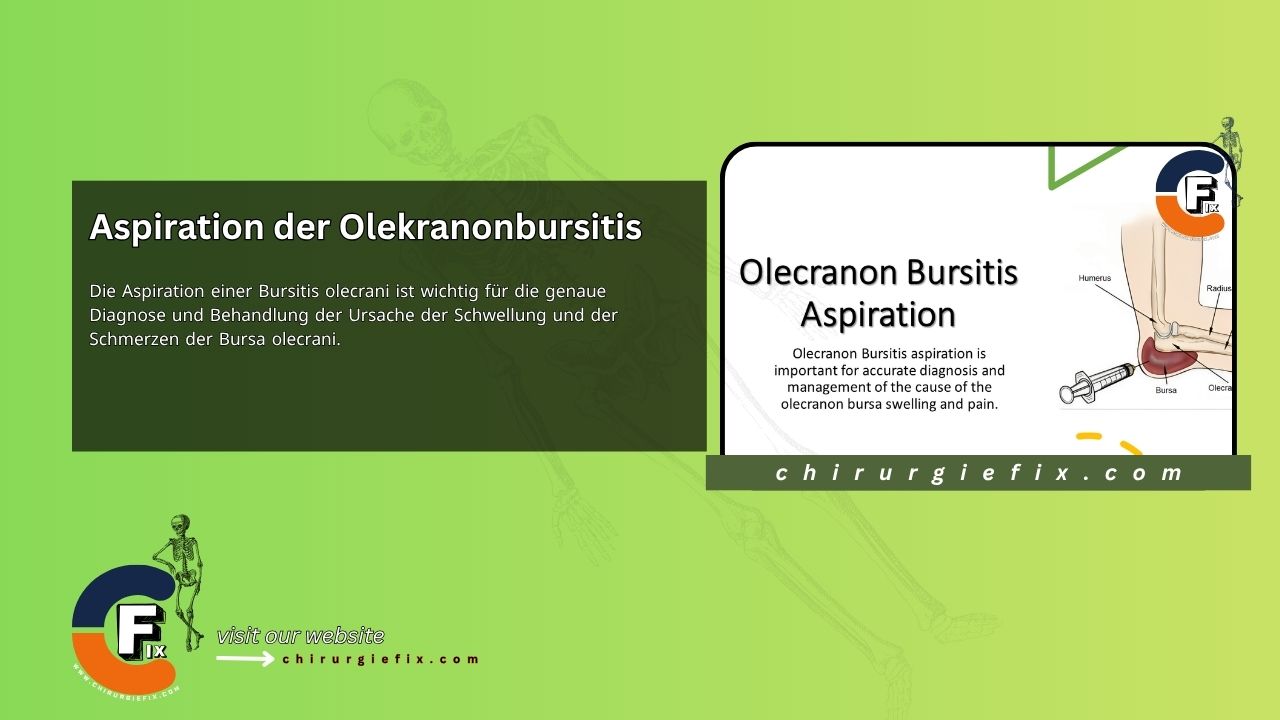
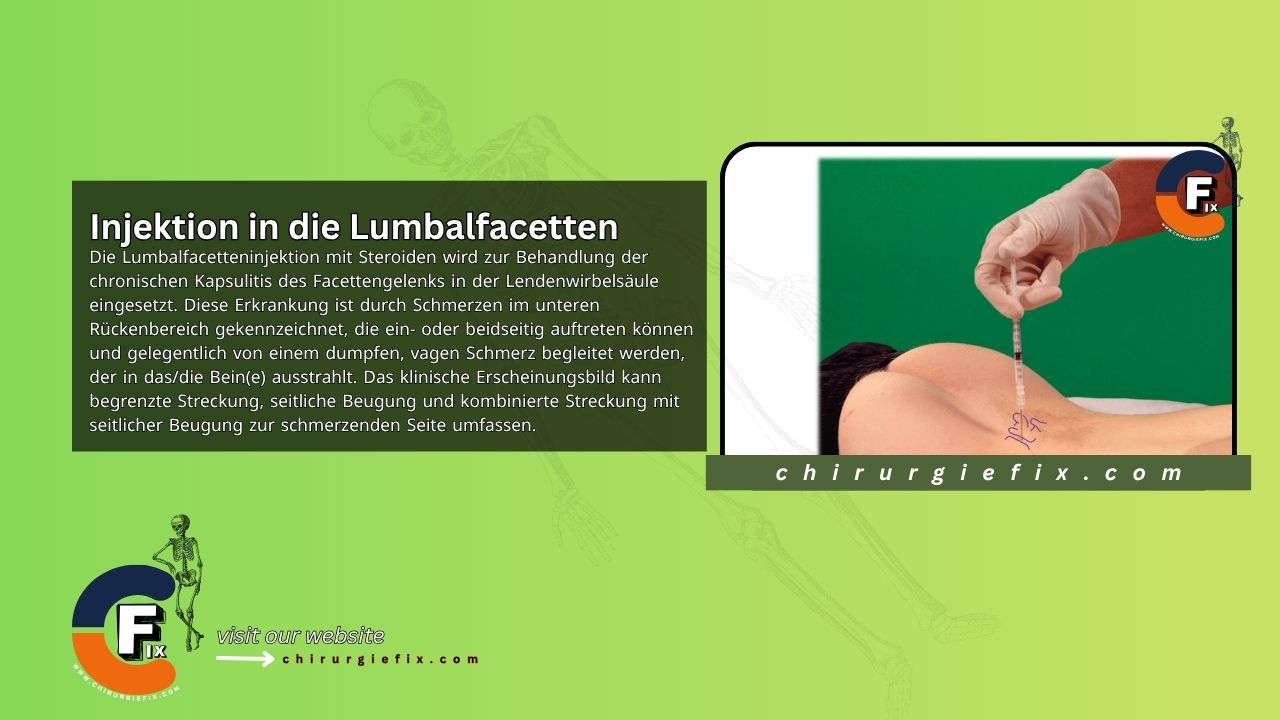
Intramedullary femoral nailing is currently the gold standard for treating femoral shaft fractures. A medullary nail is a metal rod inserted into the bone's medullary cavity across the fracture to provide solid support to the broken bone.
Benefits of intramedullary femoral nailing include:
- Short hospital stay
- Faster fracture healing
- Early functional use of the limb
Intramedullary Femoral Nailing Procedure
Positioning and Preparation
- Based on the preoperative template and surgical plan, choose between a radiolucent flat-top table or a fracture table, and decide on patient positioning. We prefer using a fracture table.
- We have extensively used both lateral and supine positions, each having their respective indications. The supine position is more versatile. It provides easier access for the anesthesiologist, especially in severely injured patients. The surgical team and radiology technicians also find this position more comfortable. It is most useful for bilateral femoral fractures, fractures of the distal third of the femur, and femoral fractures with contralateral acetabulum fractures.
- When the patient is supine, adduct the trunk and the affected limb. Flex the affected hip by 15 to 30 degrees.
- Apply traction through a skeletal pin or a well-padded traction boot on the foot. Position a well-padded perineal post and place the uninjured limb in a well-padded traction boot. The legs are positioned in a scissor configuration.
- Estimate the correct rotational alignment in relation to the normal anteversion of the hip, as determined with the image intensifier.
- Rotate the foot and the distal femoral fragment to match the proximal fragment while observing the C-arm image.
- If the patient is in the lateral decubitus position with the perineal support, ensure the majority of the trunk's weight rests on the trochanter rest of the unaffected hip.
- Place the fractured side in 15 to 30 degrees of hip flexion. The normal side is in neutral to slight hip extension.
- Prepare the patient in the usual manner. Drape the buttock and lateral thigh down to the popliteal crease. Cover the image intensifier arm with a sterile isolation drape.
Femur Preparation
- Make a short oblique skin incision starting 2 to 3 cm from the proximal tip of the greater trochanter, extending proximally and medially.
- Incise the fascia of the gluteus maximus muscle along its fibers.
- Identify the subfascial plane of the gluteus maximus and palpate the piriformis fossa or the trochanteric portal.
- Advance the threaded-tip guide wire approximately to the level of the piriformis fossa.
- Visualize the trochanteric region to adjust the guide wire position.
- Confirm the pin position with anteroposterior and lateral imaging.
- Rotate the foot and the distal femoral fragment to match the proximal fragment while observing the C-arm image.
Proximal Entry Portal Preparation
- Remove the honeycomb insert, leaving the guide wire and entry portal tool in the wound.
- Place the entry reamer assembly into the entry portal tool and over the guide wire.
- Drill the assembly into the femur until it contacts the entry portal tool.
- Verify the reamer's position during insertion using anteroposterior and lateral imaging.
- Remove the entry reamer and the guide wire, leaving the entry portal tube and the canal reamer in place.
Reduction and Guide Wire Insertion
- Place the reduction tool, consisting of a reducer and T-handle, into the canal reamer and connector within the femur.
- Advance the reduction tool to the fracture site. Use it to manipulate the proximal fragment and engage the distal fragment with the tool's tip.
- Once the distal fragment is reached and engaged, advance the 3.0 mm ball-tipped guide wire across the fracture.
- Confirm reduction and guide wire position with anteroposterior and lateral images in multiple planes.
Canal Preparation
- Remove the reducer and ream the canal sequentially in 0.5 mm increments until moderate "chatter" is felt, or until reaming exceeds the selected nail diameter by 1.0 to 1.5 mm.
- Confirm the correct nail length by positioning the guide wire at the desired distal location.
- Pass the ruler over the guide wire and place it at the level of the femoral insertion point.
- Verify this on the anteroposterior image and read the measurement on the gauge.
Nail Insertion
- Attach the drill guide assembly to the selected nail.
- Remove the entry portal tube and canal reamer, leaving the guide wire in place.
- Place the nail into the femur and advance it manually.
- If significant resistance is felt, remove the nail and ream the canal by 0.5 mm.
- Insert the nail fully, as confirmed by multiplanar image intensification.
Nail Interlocking
- For proximal and distal locking, use 5 mm locking screws.
- Insert the gold drill sleeve into the proximal guide and advance it to the skin.
- Make a stab incision at this point and spread the tissue down to the bone.
- Insert the gold drill sleeve with the silver inner liner and advance the long pilot drill to the inner cortex, but not through it.
- Measure the length using the calibrated drill at the top of the silver guide. Then penetrate the far cortex. Remove the drill and the silver sleeve.
- Insert the screw of the correct length and advance it manually until it is snug.
- Verify the position with an anteroposterior image.
Freehand Technique for Distal Targeting
- Position the image intensifier laterally and scan the distal femoral metaphysis.
- When the holes appear perfectly circular, make a longitudinal stab incision through the skin, subcutaneous tissue, and iliotibial band, centered over the interlocking hole in the nail.
- Place a trocar-tipped drill over the screw hole and make adjustments until the tip is centered over the desired hole.
- Penetrate the lateral cortex. Remove the drill from the screwdriver and confirm on the lateral image that the drill is positioned within the locking hole.
- Insert the screw of the correct length by hand to confirm purchase.
- Repeat this process if additional distal locking screws are desired.
Final Assessment
- Before leaving the operating room, assess the femoral neck and confirm for any leg length discrepancy or rotational malalignment.
- Evaluate the thigh compartments and examine the ligaments of the ipsilateral knee.
- Obtain a postoperative anteroposterior pelvis radiograph with both hips in internal rotation to check for occult femoral neck fractures.
See Also: Patellar Fractures | Broken Kneecap
Postoperative Care
Weight-bearing depends on the stability of the fracture fixation. Weight-bearing as tolerated is allowed immediately, regardless of nail size, if satisfactory cortical contact is achieved. In the rare case a pediatric nail is used in an adult, protected weight-bearing should be initiated until early radiographic healing is observed. For comminuted injuries, toe-touch or partial weight-bearing is permitted. Hip and knee range of motion is encouraged.
Before discharge from the hospital, quadriceps setting and straight leg raise exercises are started. Hip abduction exercises are initiated after wound healing. Weight-bearing is increased as callus formation progresses.
Walking aids such as crutches or a walker are used for the first 6 weeks. During this period, hip and knee motion, as well as strengthening exercises, are recommended.
Ambulation without assistive devices is permitted based on strength recovery and radiographic healing progress.
References and Further Reading
- Rudloff MI, Smith WR. Intramedullary nailing of the femur: current concepts concerning reaming. Journal of Orthopaedic Trauma. 2009;23(5 Suppl):S12-7. [PUBMED: 19390369]
- Winquist RA, Hansen ST Jr, Clawson DK. Closed intramedullary nailing of femoral fractures. A report of five hundred and twenty cases. Journal of Bone & Joint Surgery – American Volume. 1984;66(4):529-39. [PUBMED: 6707031]
- Xiong R, Mai QG, Yang CL, Ye SX, Zhang X, Fan SC. Intramedullary nailing for femoral shaft fractures in adults. Cochrane Database Syst Rev. 2018 Feb 2;2018(2):CD010524. doi: 10.1002/14651858.CD010524.pub2. PMCID: PMC6491114.